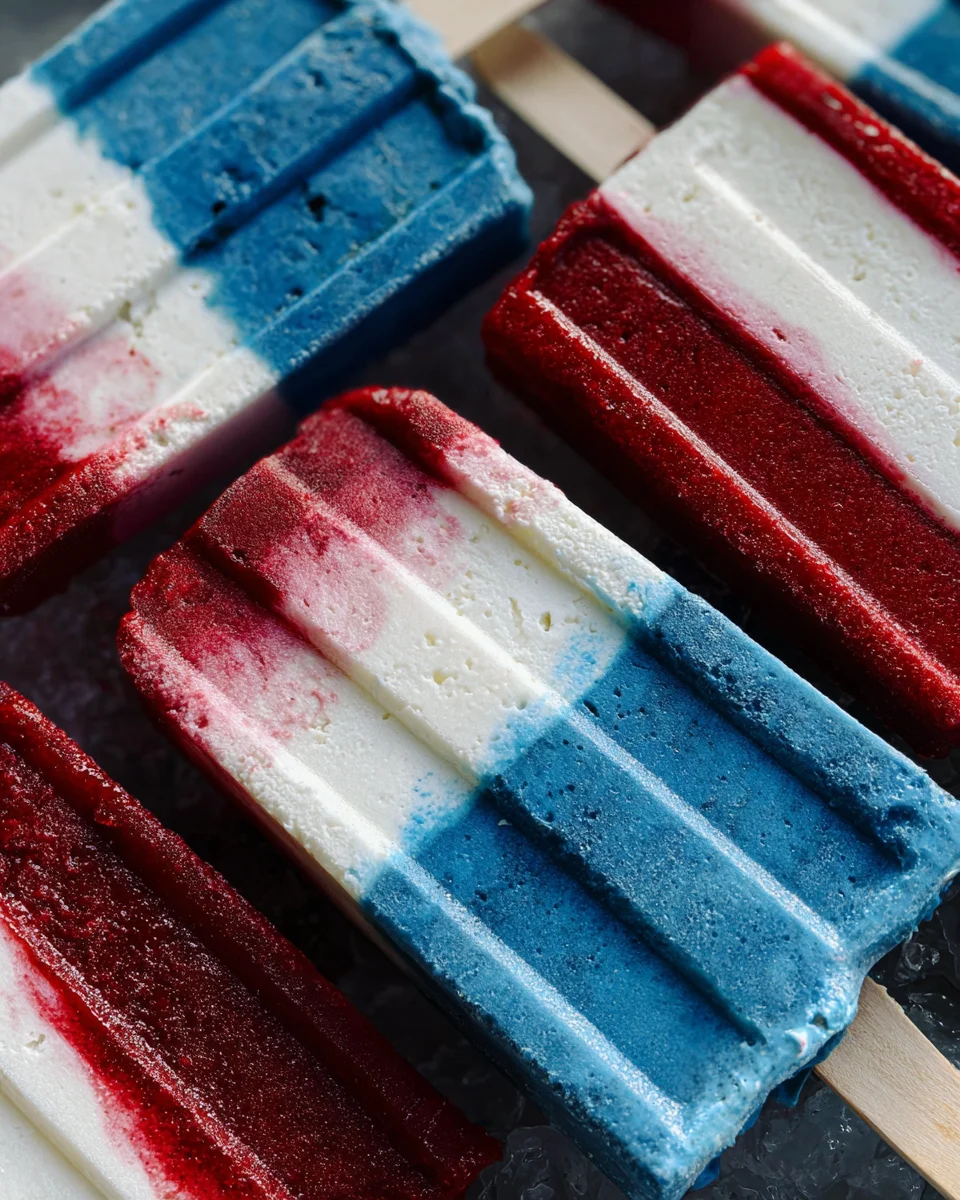
Red White and Blue Popsicles are a delightful and refreshing treat that embodies the spirit of summer. These festive popsicles are not only perfect for Fourth of July celebrations but also ideal for any warm day when you crave something cool and fruity. With vibrant layers of raspberry, creamy coconut, and a splash of blue spirulina, these frozen delights are as tasty as they are beautiful. They’re easy to make, healthy, and sure to impress at your next gathering!
Why You’ll Love This Recipe
- Easy to Make: With simple ingredients and straightforward steps, you’ll whip these popsicles up in no time.
- Healthy Treat: Packed with fruit and coconut milk, these popsicles are a guilt-free indulgence for kids and adults alike.
- Customizable Flavors: Feel free to mix in different fruits or swap out ingredients to suit your taste preferences.
- Perfect for Any Occasion: Whether it’s a summer BBQ or a birthday party, these popsicles add a festive flair.
- Gorgeous Presentation: The stunning red, white, and blue layers make these treats not just delicious but visually appealing.
Tools and Preparation
Before diving into this fun recipe, gather the necessary tools to ensure a smooth process.
Essential Tools and Equipment
- Ice pop molds
- High-speed blender
- Clean blender (for the white layer)
- Popsicle sticks
- Measuring cups
Importance of Each Tool
- Ice pop molds: Essential for shaping your popsicles into fun forms that freeze beautifully.
- High-speed blender: Ensures your fruit blends smoothly, creating a velvety texture for each layer.
- Popsicle sticks: Help hold the popsicles together during freezing and make them easy to enjoy once set.
Ingredients
For the Red Layer
- 1 cup raspberries
- 1 tbsp maple syrup (optional)
- 1-2 tbsp water
For the White Layer
- 1 cup canned coconut milk
- 1 tbsp maple syrup (optional)
For the Blue Layer
- ¼ tsp blue spirulina powder
- 1 cup coconut milk
- 1 tbsp maple syrup (optional)
- ¼ cup blueberries (optional, will turn purple blue if added)
How to Make Red White and Blue Popsicles
Step 1: Prepare the Red Layer
Combine the raspberries, maple syrup, and water in a high-speed blender. Blend until very smooth. Pour about 1 ½ tablespoons of this mixture into each ice pop mold. Place the mold in the freezer for at least 30 minutes to allow it to set.
Step 2: Create the White Layer
While the red layer is freezing, combine 1 cup of canned coconut milk with 1 tablespoon of maple syrup in a clean blender. Blend until smooth. Once the red layer is set, add heaping 1 – 1 ½ tablespoons of this white mixture to each mold on top of the red layer. Return the molds to the freezer for at least 2 hours.
Step 3: Make the Blue Layer
To prepare the blue layer, blend together 1 cup of coconut milk, blue spirulina powder, and another tablespoon of maple syrup in your blender until well combined. Remove the molds from the freezer after the white layer has set. Pour this blue mixture on top of each mold. Insert a popsicle stick into each one.
Step 4: Final Freeze
Freeze until firm for about 5 hours or until completely solid.
Step 5: Serve Your Popsicles
To remove your Red White and Blue Popsicles from their molds easily, run them under hot water for about 10 seconds. Serve frozen and enjoy! Store any leftover popsicles in an airtight container in the freezer for up to a month.
How to Serve Red White and Blue Popsicles
Red White and Blue Popsicles are not only delicious but also visually stunning, making them perfect for summer gatherings or patriotic celebrations. Here are some creative ways to serve these refreshing treats.
For a Festive Party
- Use themed plates and napkins to enhance the festive atmosphere.
- Set up a popsicle stand where guests can choose their favorite flavors.
With Fresh Fruit
- Serve alongside fresh strawberries, blueberries, or raspberries for added color and flavor.
- Create a fruit platter that complements the popsicle colors.
As Dessert Shooters
- Slice the popsicles into small pieces and layer them in shot glasses for a fun dessert shooter.
- Top with whipped cream for an extra indulgent treat.
Pairing with Drinks
- Serve with lemonade, iced tea, or sparkling water to keep everyone refreshed.
- Consider creating a signature summer cocktail that matches the colors of the popsicles.
During Movie Night
- Enjoy the popsicles while watching your favorite summer flicks at home.
- Create a cozy setup with blankets and cushions for maximum comfort.
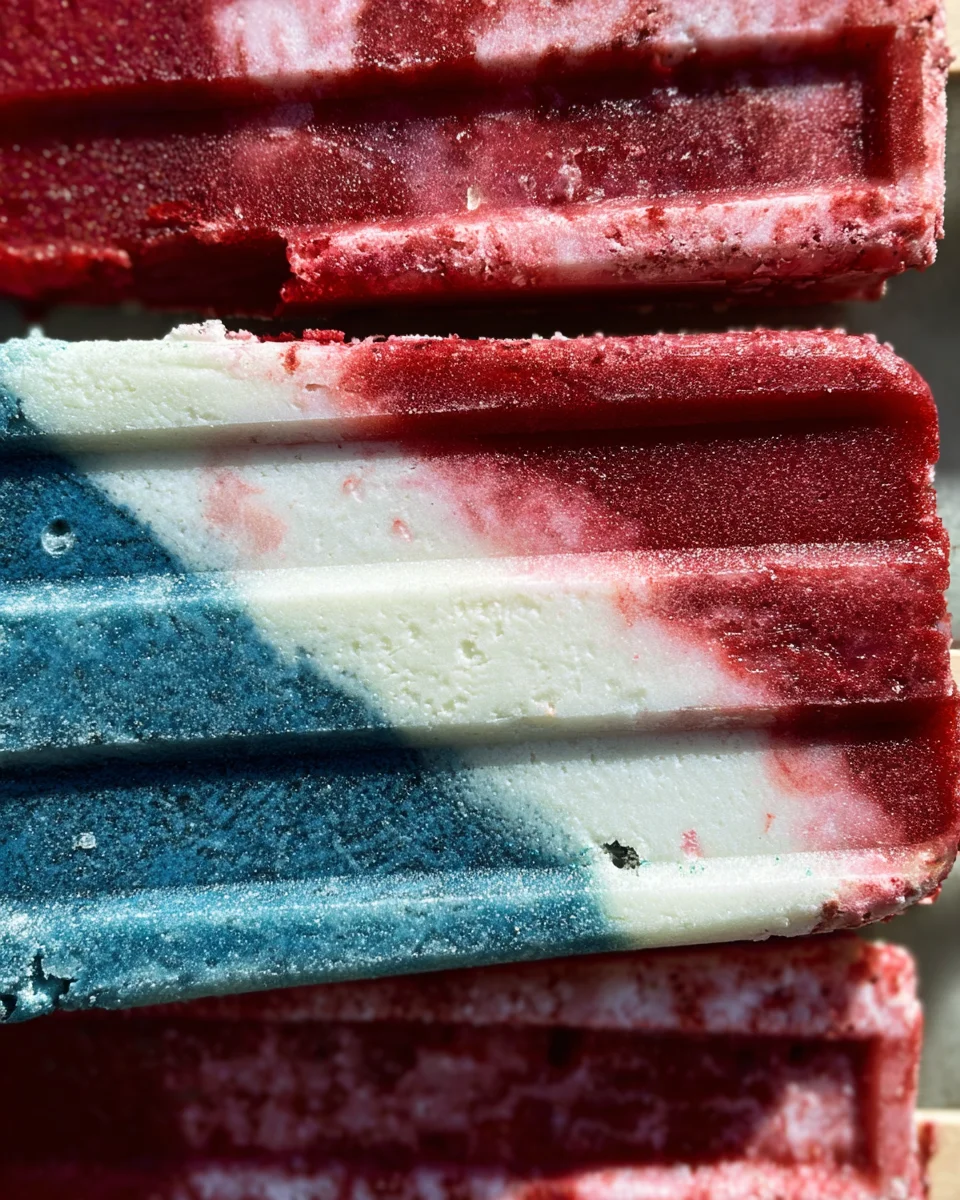
How to Perfect Red White and Blue Popsicles
To achieve the best Red White and Blue Popsicles, consider these helpful tips. They will ensure your popsicles are not only beautiful but also delicious.
- Use frozen fruit: Frozen raspberries or blueberries can help create a smoother texture in your layers.
- Chill ingredients: Keeping your coconut milk cold before blending can help maintain the consistency of each layer.
- Layer carefully: Pour each layer slowly to prevent mixing. This ensures clear color separation.
- Experiment with flavors: Try adding different fruit purees or extracts like vanilla for added depth in flavors.
- Adjust sweetness: Taste each layer before pouring. You can easily adjust sweetness by adding more maple syrup if desired.
- Storage tips: Wrap individual popsicles in plastic wrap before freezing them for easy access later on.
Best Side Dishes for Red White and Blue Popsicles
Pairing side dishes with Red White and Blue Popsicles can elevate your summer snacking experience. Here are some delightful options to consider:
- Grilled Corn on the Cob: Sweet, buttery corn complements the fruity flavors perfectly.
- Caprese Salad Skewers: Fresh mozzarella, tomatoes, and basil drizzled with balsamic glaze add a savory contrast.
- Watermelon Feta Salad: The refreshing combination of sweet watermelon and salty feta is ideal for summer.
- Guacamole and Chips: Creamy guacamole served with crispy tortilla chips provides a satisfying crunch.
- Veggie Platter with Hummus: A colorful array of veggies dipped in hummus offers a healthy snack option.
- Pasta Salad: A light pasta salad with veggies can be a filling side that balances the sweetness of the popsicles.
- Mini Quiches: These bite-sized treats are perfect finger foods that pair well with fruity desserts.
- Fruit Kebabs: Skewered fresh fruits make an easy-to-eat side that matches the popsicle theme beautifully.
Common Mistakes to Avoid
Making Red White and Blue Popsicles can be fun, but avoiding common mistakes will ensure your frozen treats turn out perfectly.
- Skipping the blending step: Failing to blend the layers thoroughly can result in a grainy texture. Always blend until smooth for a creamy finish.
- Not freezing long enough: If you don’t freeze each layer for the recommended time, they may not set properly. Be patient and allow adequate time between layers.
- Overfilling the molds: Filling the molds too much can cause spills during freezing. Leave a little space at the top for expansion as they freeze.
- Ignoring ingredient quality: Using low-quality ingredients may affect flavor. Opt for fresh fruits and good coconut milk for the best results.
- Forgetting to run under hot water: If you struggle to remove popsicles from the molds, running them under hot water is key. This simple trick helps release them easily.
Refrigerator Storage
- Store any leftover popsicles in an airtight container in the refrigerator for up to 3 days.
- Ensure they are well-wrapped or covered to prevent freezer burn.
Freezing Red White and Blue Popsicles
- Store popsicles in an airtight container in the freezer for up to one month.
- Use wax paper between layers if stacking to avoid sticking.
Reheating Red White and Blue Popsicles
- Oven: Not applicable as these are best enjoyed frozen.
- Microwave: Not recommended; melting will ruin their texture.
- Stovetop: Not applicable since these popsicles are meant to be served frozen.
Frequently Asked Questions
How do I make Red White and Blue Popsicles vegan?
You can easily make these popsicles vegan by using maple syrup instead of honey and ensuring all ingredients are plant-based.
Can I customize my Red White and Blue Popsicles?
Absolutely! Feel free to swap out fruits or add yogurt for creaminess. You could also change the sweetener based on your preference.
How long do Red White and Blue Popsicles last?
When stored properly in an airtight container, these popsicles can last up to one month in the freezer.
What other flavors can I try with my popsicle recipe?
Consider adding mango or kiwi for a tropical twist, or use different berries like strawberries and blackberries for variety.
Are Red White and Blue Popsicles suitable for kids?
Yes! These popsicles are healthy, colorful, and a fun treat that kids will love, making them perfect for summer snacks.
Final Thoughts
These Red White and Blue Popsicles offer a delightful way to celebrate summer with vibrant colors and refreshing flavors. They’re easy to customize with various fruits or sweeteners while remaining healthy. We encourage you to try this recipe and get creative with your own fruity combinations!
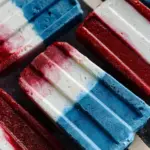
Red White and Blue Popsicles
- Total Time: 0 hours
- Yield: Approximately 6 servings 1x
Description
Red White and Blue Popsicles are the ultimate summer treat, bursting with vibrant flavors and colors that celebrate the season! These fruity frozen delights are not only visually stunning but also healthy, making them perfect for Fourth of July parties or any warm day when you’re in the mood for something refreshing. Made with layers of sweet raspberry, creamy coconut milk, and a hint of blue spirulina, these popsicles are easy to whip up at home. Impress your guests with this simple recipe that’s customizable to fit your taste preferences!
Ingredients
- 1 cup raspberries
- 1 tbsp maple syrup (optional)
- 1–2 tbsp water
- 1 cup canned coconut milk
- ¼ tsp blue spirulina powder
- 1 cup coconut milk
- 1 tbsp maple syrup (optional)
- ¼ cup blueberries (optional, will turn purple blue if added)
Instructions
- For the red layer, blend raspberries, maple syrup, and water until smooth. Pour into molds and freeze for 30 minutes.
- For the white layer, blend coconut milk and maple syrup until smooth. Add on top of the red layer once set and freeze for 2 hours.
- For the blue layer, blend coconut milk, blue spirulina powder, and maple syrup until well combined. Pour over the white layer and insert popsicle sticks.
- Freeze until firm for about 5 hours.
- Prep Time: 15 minutes
- Cook Time: None
- Category: Dessert
- Method: Freezing
- Cuisine: American
Nutrition
- Serving Size: 1 popsicle (85g)
- Calories: 70
- Sugar: 10g
- Sodium: 5mg
- Fat: 3g
- Saturated Fat: 2g
- Unsaturated Fat: 1g
- Trans Fat: 0g
- Carbohydrates: 12g
- Fiber: 1g
- Protein: 1g
- Cholesterol: 0mg
